
_____________________________________


The two above shots are close ups of the burr used to create the hole/setting and the stones I used. I have a selection of 1.6-2.5 mm burrs to set the 2mm stones. Just because you buy 2mm stones does not mean they will be exactly 2mm.
________________________________

You can't see it here, but a 1mm (more likely less) hole has been drilled through the ring first, then you just bore out the hole a bit larger with the appropriate burr. If you look carefully, you'll see the burr is still slightly above the surface of the ring so it needed to go a bit further. Remember, the only thing holding the stone in is a small, thin, ring of metal that will be pushed over the stone.
____________________________________

This is a close up of the hole cut into the ring. It's hard to depict, but the the hole is slightly deeper than the height of the ring. That little extra bit is the metal that will pushed down and around with a burnisher that will hold the stone. This was a harder than usual gypsy setting because the hole was slightly recessed into the surface of the ring.
______________________________________


The two shots above show the green cz being set in and rubbed over. In the top picture you can see all the bad marks and scratches around the stone before being cleaned up.
_______________________________________


The above are some pictures of the finished ring.
_____________________________________
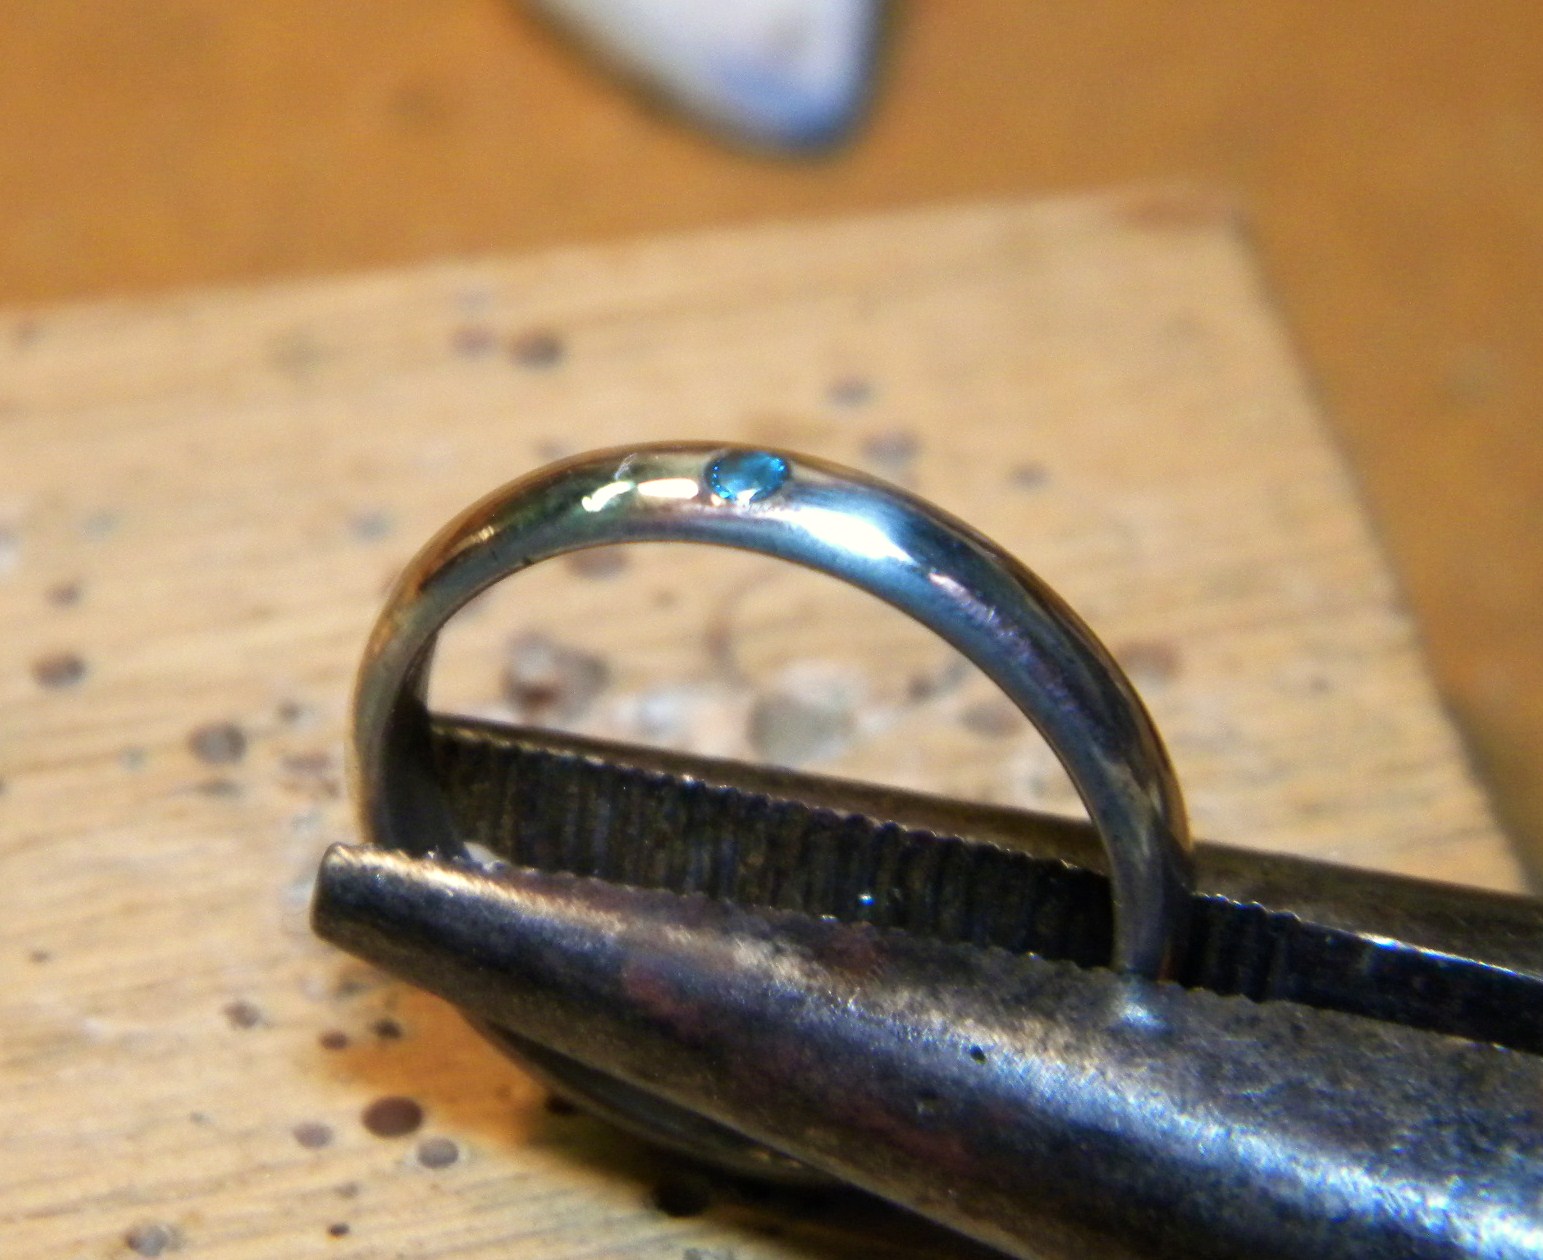
The pictures below are of a 2mm blue cz set into a 1/2 round sterling silver ring. When I do craft shows this is an inexpensive ring that I can make and customize with different color czs. Creating a gypsy setting in a 1/2 round means you will have to over bore(go deeper) the top of the 1/2 round ring shank in order to bore deep enough to get enough metal for the sides. It's somewhat of a pain, but, like most things, easy once you've done a few. If you mess things up you can drill out the setting to match an appropriate diameter of wire and solder it in. If you heat the ring up first and make sure the wire is cold you can drive it through and it will shrink up tight. If you fit it correctly, you will not be able to see the repair after you solder it.
______________________________________


If you look carefully, and think about it, you can imagine the stone being slightly bigger than what you are seeing from this angle. The silver is pushed over the outside diameter of the stone and this is what holds it in. It's a thin, small piece of metal. I've worn one of these for about 5+ years now and it has yet to fall out. Eventually it has to wear and become less than secure. I guess I could glue it in too, but that seems 'kinda wrong.
________________________________


A reasonable, digitally enhanced close up. You can see the scratches from rubbing the rim down over the stone. You have to be careful cleaning up the scratches, you don't want to remove to much of the metal that holds the stone in. This picture is probably about 4x actual size, so you probably wouldn't be able to see the scratches anyway.
_______________________________________

Here is another another way to do a gypsy setting. First, I made a regular ring, in this case it's a hammered texture, sort of a thing, although in the pictures you really can't tell. I soldered a small scrap silver rectangle on top, making the section of the ring a bit thicker, this was to allow enough depth of metal to bore out the cavity where the stone will eventually set. I finally soldered some thin gauge wire next to the rectangle, just because I liked the look. Then, it's just creating the setting like described before in the previous ring. In this picture you can see a lot of the scratches from the setting process.
___________________________________


The shots above are the finished ring with the setting scratches removed.
No comments:
Post a Comment