


Here you can see a piece of 12 gauge or 14 gauge silver round wire being measured, cut and filed to a size 6. I measure both wires out at a size 6, just to see what size they would come out to being, after being hammered into shape.


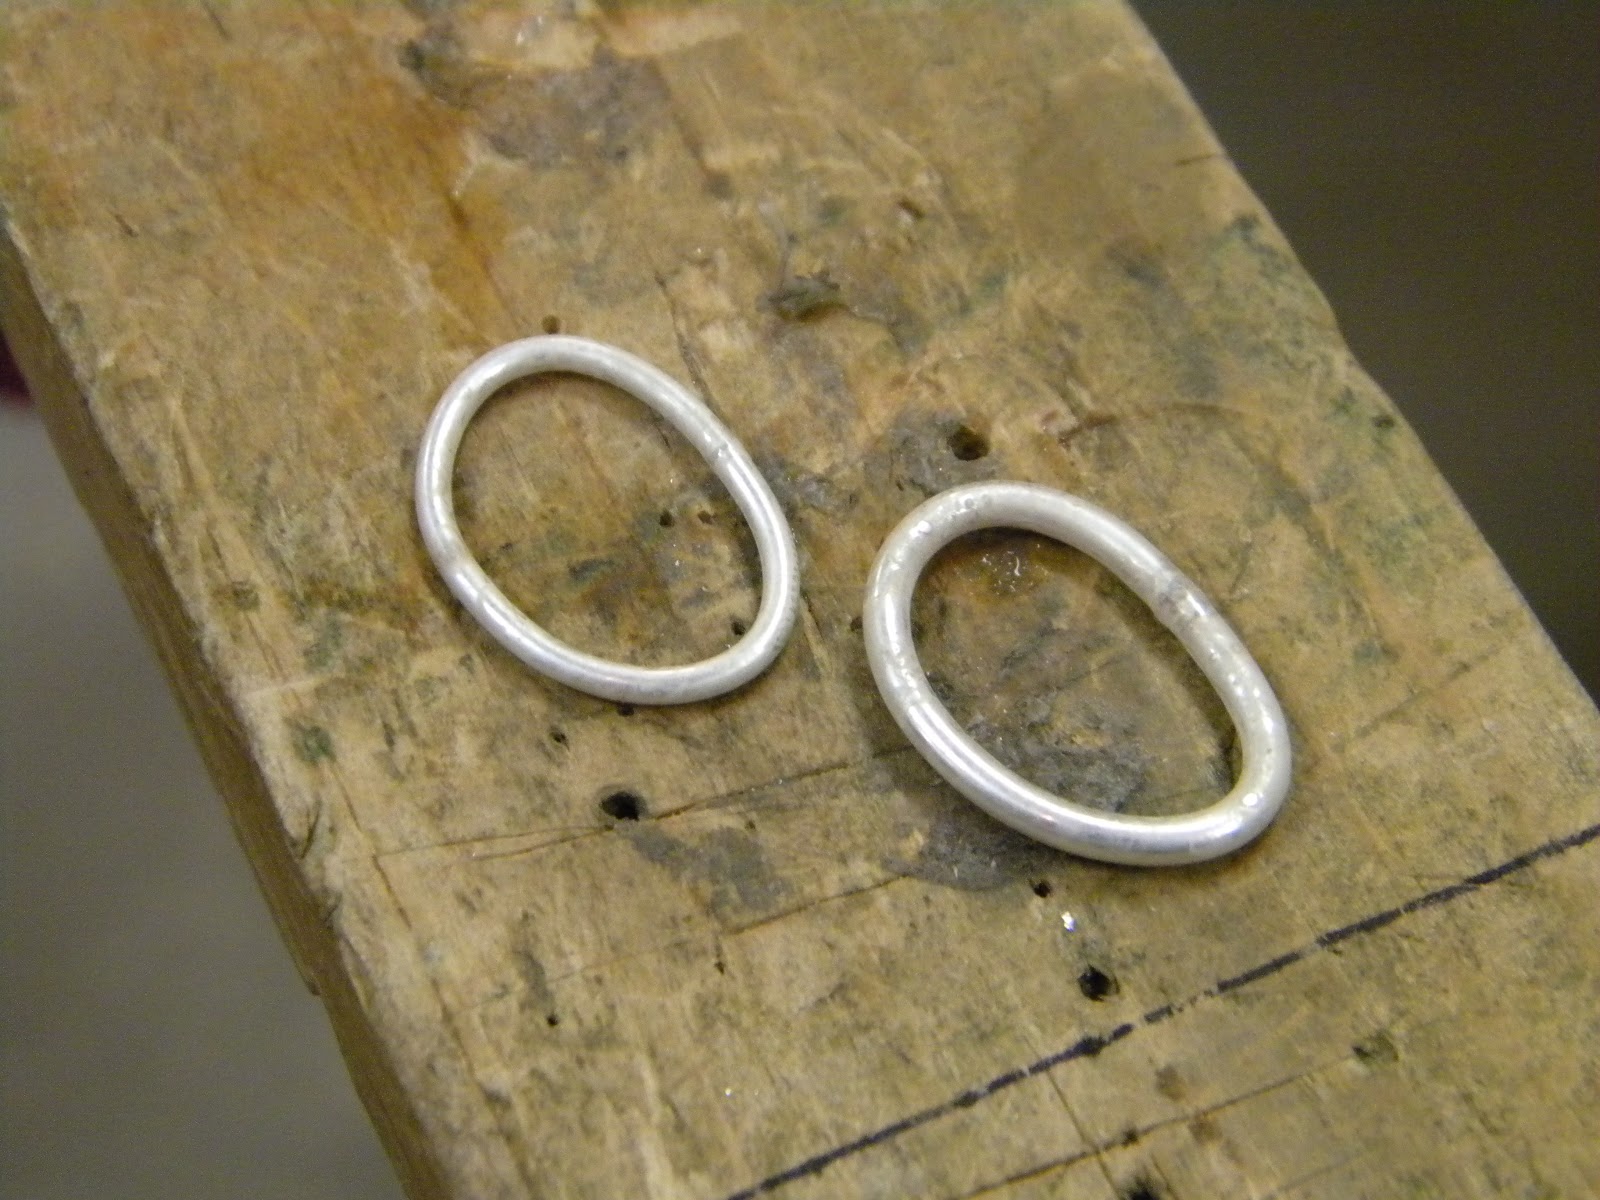

The shots above are the wires in a cut and formed state and then soldered together. I didn't show me so soldering the wires together because I didn't particularly feel like setting the camera up on a tripod and setting the timer on the camera, plus it's pretty much just an average soldering job. I might have spread the wires slightly apart and set the solder between the wire ends or I might have set the wire on top of a piece of solder(that would be called a pallion, for individuals who prefer formal jewelry nomenclature). It really doesn't matter, whatever your comfortable with. If I'm doing it in class I'd probably be setting the chip of solder on top and soldering from underneath because it's easier for people to see what's going on.

Here the soldered wire rings are slid over the mandrel and hammered round with a plastic or leather mallet. Notice the difference in sizes, I started with wires cut to the same length, but they round up to a different size due to the difference in wire gauge. The thicker gauge(12) is not quite up to a size 4 and the thinner gauge(14) is setting at about 4 1/4 size. Remember we started with size 6. Quite a bit of difference, but I'm going to hammer the ring in the following steps which will stretch it again to a bigger size.

This is really where things get interesting. While the ring is slid tightly on the mandrel I set the ring down on an anvil or against a polished piece of flat steel. Here I'm using a flat piece of steel. You have to hold the mandrel tightly against and parallel to the top surface of the anvil/metal block. Then start hammering with a nice, flat, preferably polished, hammer. The hammer makes a flat spot on the top and the action of pounding down makes a flat spot where the ring is in contact with the flat surface of the anvil or steel block. I you look carefully you'll see there is already a flat spot from this being done before. So at this point I will have four flat spots. After you hammer a flat spot you turn the ring 90 degrees so that the flat spots you just hammered are sticking out to the left and right.


In the above pictures you should see the round ring being hammered to create 4 flat sides. In the last picture, right above, you can see the ring with the four flat sides standing up on it's own. It's sitting on the metal block I used to hammer it upon. At this point I slid the ring back on the mandrel and set the ring back on the steel block and positioned the ring on the remaining round spots and hammered those flat, just like in the above steps.


The two shots above are the rings with all 8 sides hammered, one 12 gauge and the other 14 gauge. I 'kinda like the way they can stand up on their own.

This is interesting. If you remember from the above, I cut two pieces of 12 and 14 gauge wire to a size 6 length. Then after soldering, the 12 gauge became a 3 3/4 and the 14 gauge became a 4 1/4. Then after hammering, the 12 gauge stretched back to a 6 and the 14 gauge stretched to a 6 1/2. I hope that does not sound complicated, it really isn't, it's good to know the progression of the measurements. This ring is easy to size as you make it. Stop hammering when you get to the size you need or hammer some more if you need to make the ring bigger.


Some shots of the finished rings, from slightly different viewpoints, slightly buffed. If you have any questions, feel free to e-mail me.
No comments:
Post a Comment